How do I set up the WordPress newsletter plug-in?
Set up the WordPress plug-in:
1.1 Change the Permalink settings
In WordPress, go to "Settings" --> "Permalinks" and choose a setting other than the default setting.
1.2 You can now download the Newsletter2Go plug-in for WordPress here.
1.3 Once you have downloaded the plug-in, upload it to the backend of your WordPress website. To do this, go to "Install" in your plug-in settings.
1.4 The plug-in should now be available in WordPress. Select and install it under downloaded plug-ins.
1.5 Once the installation is complete, click on "Newsletter2Go" in the side menu.
1.6 Click "log in or create account".
If you already have a Newsletter2Go account and are logged in, all you need to do is enable access.
If you already have a Newsletter2Go account but are not logged in, simply tick the box next to "I already have a Newsletter2Go account" and then log in with your account details.
If you do not yet have a Newsletter2Go account, you can set one up.
Once you have successfully logged in, you will be taken to the WordPress integration within your Newsletter2Go account. Here, you can change your access details and test the connection to the WordPress system.
2. Once the connection has been established, you can edit the subscribe / unsubscribe form in the WordPress plug-in. You will need to have already created a subscribe / unsubscribe form in your Newsletter2Go account (to do this, go to "Forms" under the main menu. See our video tutorial for more information). In WordPress, click to select a form and you can then customize how your form looks. On the right hand side you can see a preview of the form, or the source code.
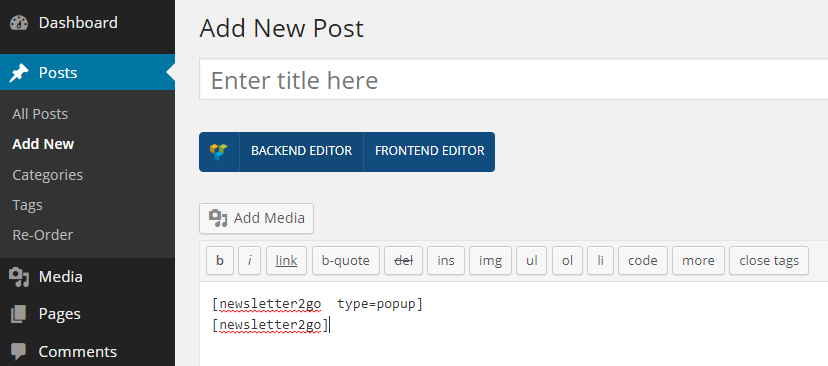
3. To embed the form, go to "Posts" --> "Add new" (in WordPress) and use this shortcut: