How do I set up the osCommerce plug-in?
To set up the osCommerce newsletter plug-in, go to "plug-ins" via the account menu (top right).
1. Download the osCommerce plug-in and save it in your osCommerce folder.

2. Upload the following files to your FTP server: Admin folder, newsletter2go_install.php, newsletter2go_api.php.
Copy these into your Shop Root Directory so that no files are overwritten.
3. In order for the plug-in to work, you need to insert a few lines of code into the back end of your shop.
Copy the code from step 3.2 (below) and insert it into the relevant lines in your file. The row numbers in the following example refer to an unmodified file version, so they may be different to your actual row numbers. You only need to attach the highlighted sections.
The paths are relative to your shop's base folder. If your osCommerce is installed under /public_html/catalog/ the path /includes/filenames.php refers to public_html/catalog/includes/filename.php. Make sure that the folder is also marked as "admin". If you have renamed your admin folder then your files should be saved to the renamed folder.
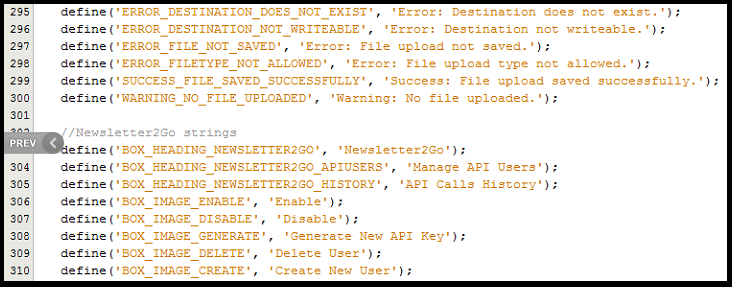
3.1 This step is necessary for attaching strings for the osCommerce plug-in.
Open the file english.php which is already in the plug-in, and copy the file content.
Open the file admin/includes/languages/english.php and insert the previously copied code at the end of the file. Save the file.
3.2 To make sure that the menu items work properly, open the file "admin/includes/filenames.php" and insert the following at the end of the file, before the last row:
define(‘FILENAME_NEWSLETTER2GO’,’newsletter2go.php’);
define(‘FILENAME_NEWSLETTER2GO_HISTORY’,
‘newsletter2goHistory.php’);
4. Next, the database must be updated with the new tables. Open the page "Your ShopUrl/newsletter2go_install.php". The necessary processes will then be carried out in your shop database.
Following this step, the menu option should be available in your admin back end.
5. You now need to create a user and an API Key in order to connect your shop with Newsletter2Go. In the osCommerce back end, select "Newsletter2Go" from the menu --> "Manage API users". Click "create new user". Create a new user and then select the new user from the list. A new panel should now appear on the right-hand side, where you can click "activate". Here you can also generate a new API key later on if you need to. Copy the API key and insert it into the Newsletter2Go app according to the following instructions:
6. Establish a connection with Newsletter2Go:
6.1 Log in to your Newsletter2Go account and click on "plug-ins" under the account menu (top right). This will take you to the plug-in overview.
6.2 Select osCommerce from the list.
6.3 A new window will open for the integration set-up. Enter the URL of your osCommerce webshop, the corresponding email address and your API key. Here you can also select whether contacts should be synchronized on a daily basis. You can also decide if only contact data should be synchronized. Once you have entered the necessary data, you can test the integration or complete the set-up.
Congratulations - you have successfully set up your osCommerce integration!